How to Use
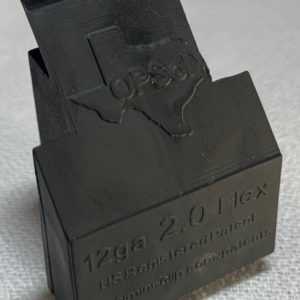
How to Use Your OPSol® Mini-Clip 2.0 Flex
Step-by-step instructions
*NOTE: The OPSol® Mini-Clip 2.0 Flex™ has been painted a contrasting color for better visibility.
Step 1:
Put gun on SAFETY. Ensure firearm is unloaded with no shells in the magazine cylinder/tube or chamber. Also, make sure the pump slide is in the extended position.

Step 2:
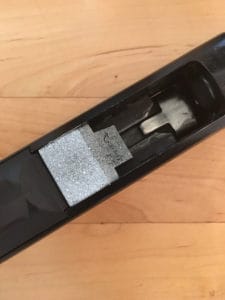
Squeeze the sides and insert the back flat end into the loading port at an angle. See picture.

Step 3:
Push down with one thumb, then back with the other. The OPSol® Mini-Clip 2.0 Flex™ must be flush to the rear and the bottom. Rack the slide a few times to ensure the OPSol® Mini-Clip 2.0 Flex™ is in position. It should not move. If it does move, remove the OPSol® Mini-Clip 2.0 Flex™ and repeat steps 1, 2, and 3.

Installed:
Removal:
Put gun on SAFETY. Ensure the firearm is unloaded with no shells in the magazine cylinder/tube or chamber. Retract the slide. Then, place your thumb into the ejection port and push the OPSol® Mini-Clip 2.0 Flex™ out.